💰 Make Money Online
🤖 AI & Future Opportunities
✍️ Content & Audience Growth
📈 Marketing & Sales
🛠 Products & Services
🧠 Foundations & Mindset
🏆 Real-World Proof
💰 Make Money Online
🤖 AI & Future Opportunities
✍️ Content & Audience Growth
📈 Marketing & Sales
🛠 Products & Services
🧠 Foundations & Mindset
🏆 Real-World Proof

When I first started creating video content, I spent an agonizing six hours editing a simple 10-minute video. Fast forward to today, and I can produce the same quality output in under 90 minutes. This dramatic improvement didn’t come from expensive gear or software—it came from systematically optimizing my editing workflow.
In this post, I’m sharing the exact shortcuts, techniques, and systems that allowed me to cut my editing time in half while actually improving the quality of my final videos. Whether you’re editing in Premiere Pro, Final Cut, DaVinci Resolve, or any other platform, these principles will transform your efficiency.
Before diving into specific techniques, let’s understand what’s at stake. Video editing inefficiency creates three major problems:
By implementing the techniques in this post, you’ll reclaim hours of your life while producing better content more consistently.
The most impactful time-saving techniques actually happen before you open your editing software.
The single biggest time-saver in my workflow was implementing script-based recording. Instead of rambling and then editing out the fluff, I now:
This approach has reduced my raw footage-to-final ratio from 5:1 to about 1.5:1, meaning I have 70% less unnecessary footage to sort through.
Implementation tip: Use the free Teleprompter Mirror app on a tablet positioned directly below your camera lens.
During recording, I use a simple system of visual and audio markers to make editing easier:
According to Caleb Wojcik, a professional video editor with over 10 years of experience, “Providing visual or audible notes during filming allows for easier editing later.”
These markers create visual and audio spikes that are instantly recognizable when scrubbing through footage, saving countless minutes of review time.
Before importing any footage, I create a standardized project folder structure:
ProjectName/
├── 01_Raw_Footage/
├── 02_Audio/
├── 03_Graphics/
├── 04_Music/
├── 05_Project_Files/
└── 06_Exports/
This consistent organization eliminates the time wasted searching for assets and ensures nothing gets lost between projects.
Keyboard shortcuts are the foundation of efficient editing. Here are the ones that have saved me the most time across different editing platforms:
| Action | Premiere Pro | Final Cut | DaVinci Resolve |
| Cut clip | Ctrl+K (⌘+K) | ⌘+B | Ctrl+B (⌘+B) |
| Play/Pause | Spacebar | Spacebar | Spacebar |
| Playback speed (J-K-L) | J (reverse), K (pause), L (play) | J-K-L | J-K-L |
| Zoom in timeline | = | = | = |
| Zoom out timeline | – | – | – |
| Select tool | V | A | A |
| Razor tool | C | B | B |
These lesser-known Premiere shortcuts have dramatically improved my editing speed:
| Action | Shortcut | Time Saved |
| Ripple delete | Shift+Delete | ~2 min/video |
| Add edit to all tracks | Shift+Ctrl+D (⇧+⌘+D) | ~5 min/video |
| Extend selected edit to playhead | E | ~3 min/video |
| Ripple trim previous edit to playhead | Q | ~10 min/video |
| Ripple trim next edit to playhead | W | ~10 min/video |
The Q and W shortcuts for ripple trimming are game-changers that many editors don’t know about. As noted in a recent Reddit thread, these two shortcuts alone can “10x your editing speed” for certain types of content.
For Final Cut users, these are the shortcuts that have most dramatically improved my workflow:
| Action | Shortcut | Time Saved |
| Append to storyline | E | ~7 min/video |
| Insert | W | ~5 min/video |
| Connect to primary storyline | Q | ~4 min/video |
| Blade all tracks | ⌘+Shift+B | ~3 min/video |
| Toggle skimming | S | ~2 min/video |
If you’re using Resolve, these shortcuts will significantly speed up your editing:
| Action | Shortcut | Time Saved |
| Add edit | Ctrl+B (⌘+B) | ~5 min/video |
| Ripple delete | Shift+Delete | ~4 min/video |
| Dynamic trim mode | T | ~6 min/video |
| Match frame | F | ~3 min/video |
| Smart insert | F9 | ~4 min/video |
Implementation tip: Print your most-used shortcuts and keep them visible next to your workstation for the first two weeks until muscle memory kicks in.
Beyond shortcuts, these workflow strategies have transformed my editing efficiency:
Instead of editing chronologically, I now edit in specific passes:
This approach keeps me focused on one type of task at a time, eliminating the cognitive switching costs that slow down many editors. As Caleb Wojcik notes, “Edit in stages to maintain focus, completing one type of task at a time.”
For interview-based content, I’ve adopted a backward editing approach:
This technique ensures the most impactful content makes the cut and has reduced my interview editing time by approximately 40%.
Editing with proxy files has eliminated frustrating playback lag when working with high-resolution footage:
In Premiere Pro, this is now automated through the “Ingest Settings” option. For a 20-minute project with multiple 4K clips, this saves approximately 30-45 minutes of cumulative waiting time.
Creating and using templates has been revolutionary for my editing efficiency:
For each content type I regularly produce, I’ve created a project template that includes:
Starting with these templates saves 15-20 minutes of setup time per project.
Instead of applying the same effects to multiple clips, I use adjustment layers with saved presets for:
This approach not only saves time but makes global changes much easier to implement.
For recurring elements like lower thirds, title cards, and call-to-action screens, I’ve created:
These allow me to simply update text while maintaining consistent branding across all videos.
The physical setup of your editing environment significantly impacts efficiency:
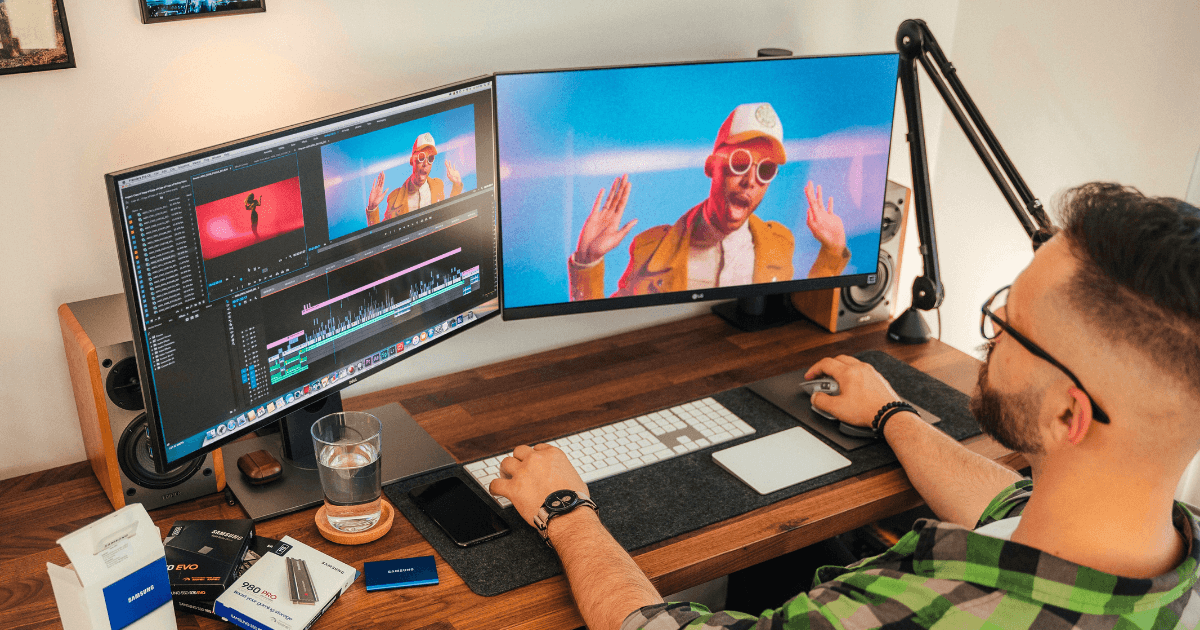
Adding a second monitor increased my editing speed by approximately 20%. My optimal setup:
This eliminates constant panel switching and allows for better visual organization.
I’ve invested in:
The Stream Deck alone has saved me approximately 30 minutes per video by automating complex multi-step processes into single button presses.
Editing from an external hard drive was causing significant delays. Switching to this setup dramatically improved performance:
This configuration has eliminated nearly all waiting time for file operations.
In 2025, AI tools have become invaluable for accelerating specific editing tasks:
Using AI transcription services like Descript or built-in tools in Premiere Pro saves approximately 30-45 minutes per 10-minute video compared to manual transcription.
Adobe’s Content-Aware Fill for video has reduced the time needed to remove unwanted objects from footage by approximately 75% compared to manual frame-by-frame editing.
Tools like Adobe’s Essential Sound panel with AI noise reduction have reduced audio editing time by approximately 50% while improving quality.
Here’s a breakdown of my editing time for a standard 10-minute tutorial video:
Before Optimization:
Total: 420 minutes (7 hours)
After Optimization:
Total: 160 minutes (2 hours, 40 minutes)
Time saved: 4 hours, 20 minutes per video (62% reduction)
To implement these techniques in your own workflow:
In my journey to faster editing, I’ve encountered several pitfalls:
Avoiding these mistakes will ensure your optimization efforts actually save time rather than creating new problems.
The techniques in this post have not only cut my editing time in half but have created several additional benefits:
Video editing doesn’t have to be a time sink. By implementing these shortcuts, techniques, and systems, you can transform your productivity while actually improving the quality of your work.
What editing techniques have saved you the most time? Share your experiences in the comments below!